We take the safety of the material being digitized as well as the safety of the operator and hardware extremely seriously. On the DT AutoColumn and DT AutoColumn XL we provide three levels of hardware and software safety:
- Limiter Switches, which stop the movement of the column whether driven by the hand control, or any control in Capture One CH.

- Virtual Stops, which can be set within Capture One CH, allowing the operator (or an administrator) to further restrict the movement range.
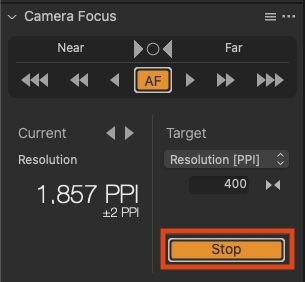
- Stop Button, which appears anytime the column is being driven.
However, it is the responsibility of the operator to properly mind the system and make appropriate use of the safety mechanisms provided. We recommend, in addition to any common sense approaches:
- Focus on the column: While driving the column up or down (whether by hand control, or from Capture One CH, or any other means) the operator should be looking at the column. This is intuitive when using the hand control, but may not be intuitive when driving it from Capture One where the operator may naturally focus on the computer screen.
- Keep the carriage between the Limiter Switches: It is important that the carriage is positioned between the end switches at all times and it’s important that the end switches are positioned in a way that the camera/lens combination doesn’t hit any object below or above in the lowest or highest position
- Think twice, drive once: check the object height and position, cable position, and look around the column before driving it. Take care that others are not near the station when you begin driving the column, and advise anyone nearby before moving it. Do not drive the column up or down until and unless you are sure it is safe for you, the column, the camera (and cabling) and the objects you are digitizing, to do so.
- Check the Limiter Switches: On occasion drive the column to near the Limiter Switches and then, using the slowest possible speed, check that they are operating correctly to stop the column.
- Do not remove the Limiter Switches: doing so allows the camera to drive into its physical limits which may damage the column.
- Hear an unusual noise? Stop! If at any time you hear grinding, metal crunching, or other unusual noise immediately stop what you are doing. Those noises indicate the column is pushing against an immovable object and is tearing itself (or the object) apart. Do not resume any motion until you are sure what has caused the sounds and are confident you have resolved the issue.
In addition, with material safety in mind, we strongly recommend that customers implement the following pre-flight check procedure to ensure that the bottom limiter switch is fully operational:
- To prevent damage, DO NOT place objects or support materials on the bed/bench.
- Position the bottom limiter higher and away from any objects or supports that could interfere with the camera. (camera should not come into any contact with the objects or the object supports)
- Keep in mind that:
- The camera extends below the arm and will change in length when the lens is changed or extension tubes or added.
- Adding accessories to the table surface such as the DT V-Cradle will increase the height above the table that such objects or materials may be at.
- Visually verify that the limiter metal tab is securely set in the limiter slot.
- Lower the camera carriage using the hand controller at its lowest speed to test that the limiter successfully stops the camera.
Have questions? Contact us! We are glad to help! Contact Support at: https://www.digitaltransitions.com/dt-support/